
Starting Small: Building Your First Overland Rig on a Budget
- Jens Brown

- Sep 13, 2025
- 7 min read
What “Good Enough” Really Looks Like

When most people first start looking into overlanding or offroad camping, they get hit with the same image: a truck worth more than their house, dripping with aftermarket gear, rooftop tent perched high, fridge humming in the back, lights blazing across the roof rack. It’s exciting—but it can also feel overwhelming and out of reach.
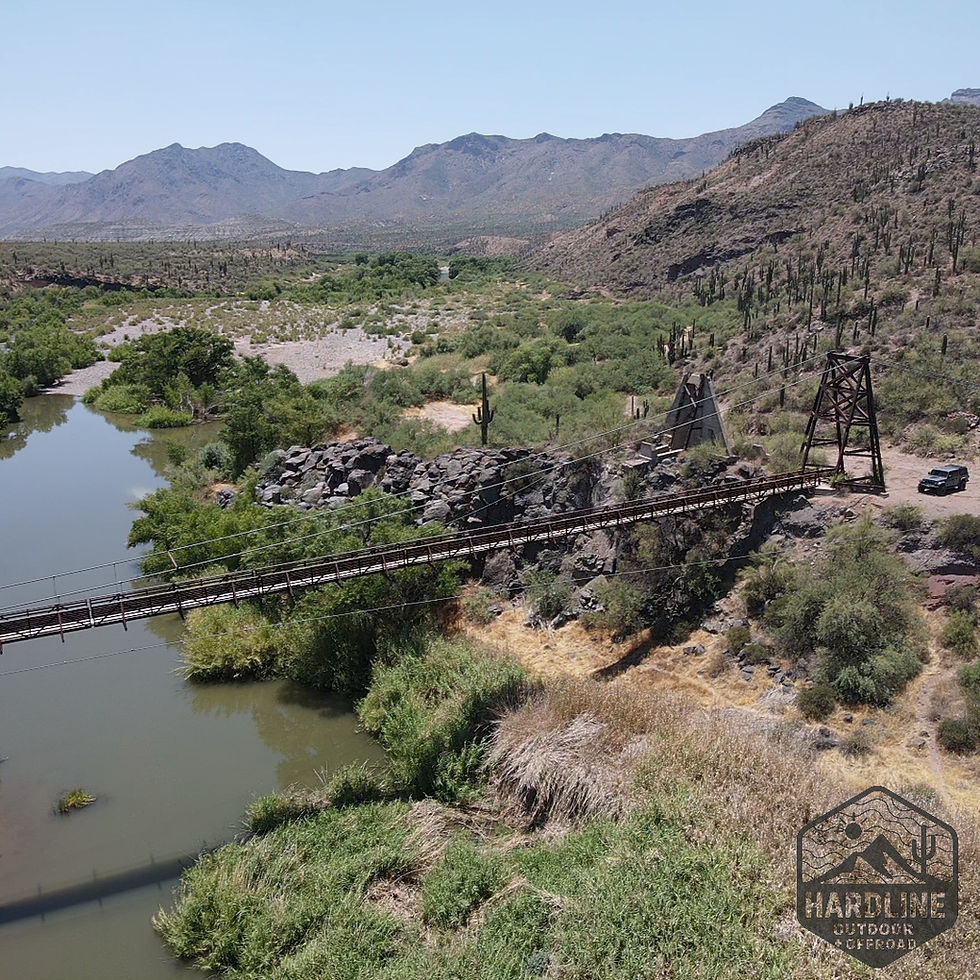
The truth is, most of us aren’t building Dakar rally, Panamerican highway rigs. What we’re really looking for is much simpler: a vehicle that can get us a little further down a dirt road, up into a national forest, or out to a remote trailhead for hiking, skiing, or fishing. We want something reliable, something that can carry us and our gear, and something that feels like a comfortable basecamp at the end of the day.
This is where many beginners get it wrong: they start building for an image, not for their reality. Before you spend a dollar, it’s worth asking: What am I actually going to do with this vehicle? Are you mostly car camping with family? Tackling fire roads and mild trails? Using the rig as a base for other adventures—like climbing, hunting, or paddleboarding? Or do you truly want to push into technical offroad terrain, where clearance, lockers, and armor actually matter? Will this be your primary ('daily') or secondary / fun vehicle only?
Being honest about your goals doesn’t limit you—it frees you. It lets you build smarter, spend less, and enjoy the journey more. Overlanding at its heart isn’t about the gear. It’s about using a vehicle to access places you couldn’t otherwise reach, and then making those places feel like home, even for just a night.
With that perspective in mind, here’s how to start small, build smart, and keep your budget under control.
Step 1: Choosing a Vehicle: Practical Paths vs. Myths
Before you even think about tents, fridges, or gear, the first big decision is the vehicle itself. And here’s the truth: you probably don’t need a brand-new build or a specialized “overland edition” truck. What most people need is a reliable used SUV or pickup that can handle dirt roads, carry your gear, and serve as a comfortable basecamp. Your goal may not be conquering the hardest rock-crawling trails—but rather exploring further, camping deeper, and getting you back home without drama.


In practice, the “best” vehicle often comes down to what you can find in good condition, at the right price, and with a history of being cared for. Maintenance and reliability matter more than the badge on the grille. With that in mind, here are some practical options across different budgets and styles:
Toyota & Lexus (4Runner, Tacoma, GX, Sequoia) | Legendary reliability and aftermarket support, but usually overpriced. A clean “grandma-owned” Lexus GX or 4Runner is worth jumping on if you find one. | 4Runner (4WD) — Expect many between $12,000 – $20,000 for model years roughly 2005–2013 in good condition. (Some listings for 2012/2013 models show ~$16,000–$19,000) Lexus GX (GX470) — in the $10,000–$18,000 range for older models (2003–2009), if you find well-maintained ones. Sequoia (4WD) — older 2000s examples might start at $10,000 – $17,000, though good condition ones creep up. |
Chevy / GM (Tahoe, Suburban, Yukon) | Not glamorous, but cheap to buy, cheap to fix, and can carry everything you need. Great for families. | A mid-2000s to early 2010s Tahoe or Suburban 4WD can often be found between $10,000 – $18,000, depending on mileage and condition. Yukon similarly, especially if non-luxury trim, in the same ballpark. |
Jeeps | The wildcard. Wranglers are trail legends, but cramped for camping. Cherokees and Grand Cherokees offer more room and decent pricing, but expect quirks and regular wrenching. Jeep ownership is part capability, part lifestyle. | Jeep Grand Cherokee (4×4) — Many fall in $10,000 – $18,000 range. For example, 2014–2018 models appear around $11,000–$19,000 in listings. Jeep Cherokee (trail-capable / 4WD) — Older ones (2000s) might be closer to $6,000 – $14,000, depending heavily on state, condition, and drivetrain. Wranglers / TJ / JK — A bit harder to find under $20k in good shape, but older TJs or early JKs can sometimes be had in $10,000 – $18,000 range, especially with higher miles or simpler trims. |
Ford F-150 (2010–2014, 5.0 V8) | Durable, plentiful, and parts are everywhere. A solid choice if you want a full-size basecamp. | You’ll see solid 4WD F-150s in the $12,000 – $20,000 range if mileage and condition are reasonable |
Nissan Frontier / Xterra (dont overlook older Nissan Armada 4WD) | The underdogs. Affordable, reliable, and capable—often half the price of a Toyota. | Xterra 4WD versions from ~2005–2015 often list between $8,000 – $16,000 depending on condition. Frontier 4WD older models come in slightly lower on the scale—$9,000 – $17,000 for decent ones. |
Full Size Vans (Ford E-Series, Chevy Express) | These are dirt cheap, sturdy and have powerful drive trains. 4x4 (Ford) and AWD (Chevy) are not uncommon, and parts are easy to come by. These vans offer huge interior space for simple camper builds, parts are everywhere, and they’re a sturdy, underrated platform for anyone who values practicality over flash. | You’ll see solid Ford E-Series vans and Chevy Express models between $8,000 – $16,000, often with truck-based drivetrains that are durable and easy to repair. 4x4 conversions on the E-Series and AWD versions of the Express aren’t common, but they do exist and can sometimes be found under $20,000. |
Rule of thumb: Buy condition, not hype. A clean Tahoe or Xterra is better than a tired Toyota with spotty maintenance.
Step 2: Get Honest About What You’re Doing
One of the biggest mistakes people make when starting out is building for the wrong adventure. It’s easy to get pulled into the fantasy of rock crawling in Moab or driving the Pan-American Highway, but the reality for most folks is a lot simpler. You’re probably using your rig to explore dirt and forest service roads, set up a basecamp for hiking or skiing, or take on moderate trails where the biggest challenge is clearance and traction, not extreme obstacles.
When you frame your build around what you actually plan to do, it changes everything. Suddenly you don’t need a $3,000 suspension lift or a roof tent you saw on Instagram. You need reliability, comfort, and a setup that makes weekends away easier, not harder. Your “mission profile” should drive every choice, and it’s worth being brutally honest about it before you spend money.
With that reality check in mind, here’s what most beginners are really trying to do when they say they want to start overlanding:
Explore national forest and BLM roads safely and confidently.
Reach remote trailheads for hiking, climbing, fishing, or skiing.
Use the vehicle as a basecamp for camping or outdoor adventures.
Tackle moderate trails for fun, without risking vehicle damage.
If that describes your goals, then keep your build simple and practical. Save the big-ticket upgrades for the day your trips actually demand them.


Step 3: The Decision Ladder (Upgrade in This Order)
Reliable vehicle (stock is fine): Focus on maintenance—fluids, belts, brakes, suspension. Reliability beats modification every time.
Tires (the single biggest upgrade): Good all-terrain tires with solid sidewalls will take you farther than most other upgrades. Don’t skimp. Carry a full-size spare.
Recovery & Air: Rated recovery points, tow strap, shackles, tire plug kit, portable compressor, and a real shovel. This is your get-out-of-trouble kit.
Shelter & Sleep: Skip the rooftop tent. Start with a ground tent, an SUV platform build, or a truck bed mattress with a shell. Comfort matters more than flash. Gazelle makes a great series of tents that unfold and are selfcontained, so no poles and fast for setup.
Food & Storage: Plastic bins and a cooler work great. Upgrade to a fridge/freezer only if ice melt becomes a constant frustration.
Comfort Add-ons (later): Awnings, sliders, dual batteries, winches—only buy them once your trips show you why you need them.
Step 4: Gear on a Budget
Personally, over the last few years, i have started to buy a ton of stuff used off of second hand sources, particularly Facebook. In my Jeep Gladiator, I was in a process of making some notable upgrades for a big eight night overland trip on the Utah BDR. This was the time when I was looking to add rock sliders and a new rear steel bumper. Going the Facebook Marketplace route saved over 70%, especially since these are items that will likely take a beating.
You don’t need to pay retail for everything. Some of the best deals come from looking in the right places:
Facebook Marketplace: A goldmine of barely-used rooftop tents, fridges, and recovery boards. Many people buy gear for one trip and then sell at half price.
REI Garage Sales / Clearance: High-quality tents, stoves, and sleeping bags often marked way down. You will regularly see clearance bargains in REI for things like gear, Dometic fridges, etc.
Walmart & Big Box Stores: Tarps, storage bins, water jugs, propane stoves—simple but effective.
Thrift Stores & Yard Sales: Old Coleman stoves, camp chairs, and cookware can be found for pennies.
Local Clubs & Forums: Jeep clubs, Toyota forums, and overland groups are full of people constantly upgrading, which means hand-me-downs for cheap. Getting on those local groups, attending 'cars and coffee' type events and meeting staff from Offroad shops can help you find deals on take off parts - very common with Jeep and Toyota owners.
The Bottom Line
Overlanding doesn’t have to mean a six-figure build. For most people, it’s about exploring a little further, camping a little deeper, and using your vehicle as a comfortable basecamp for the things you actually love—whether that’s hiking a high pass, skiing powder before the crowds arrive, or sitting by a campfire in the quiet.
Start with what you have. Upgrade tires and recovery basics. Add comfort slowly, as real experience shows you what matters. Look for used gear and don’t get caught in the marketing trap.
At the end of the day, the adventure isn’t in the gear—it’s in the miles.


Comments